Ableton Push 2 Influence on Composing
I need a professionally written ghost blog on Ableton Push 2 and how it can be used to help compose music. I need someone with experience in this that can write 1000 words on a complex level. Please do not offer to reply to this unless you absolutely know what you are writing about and can convey it expertly. I do not want an article on how you can push buttons and add rhythms and basics like that. I need something that goes way above that and talks about how we gravitated from playing guitars and pianos in small studios to using this device to actively play parts, make beats, record, slice, etc. and in conjunction with other instruments in use in a studio. Thank you!
Requirements
Not an article on simple button usage. I had this below written by a blogger on Wix - through the Wix blog service. I do not want something like this. I need somehting way better and out of the box thinking. It needs to exemplify the use of samples and their control via the hardware and how that has reshaped and empowered musicians on all levels. Thanks:
Not This:
No matter what type of music genre you chooseto work with these days, one thing is for sure: drums and their rhythmic
beating still have a way of making your music more rememberable. It’s no wonder
music tech giants such as Ableton continue to be a big hit among artists and
producers. With them, you can start working on your rhythmical framework even
before you introduce your chords and harmony.
So, if you’re looking to record your work inreal-time at a very playable instrument that almost feels as if you’re beating
real drums, using Ableton Push 2 for Live beats might just be the best way to
go about this. It’s quick, intuitive, and playable to no end--read on to get
started building beats with Push 2 and Ableton Live 10.
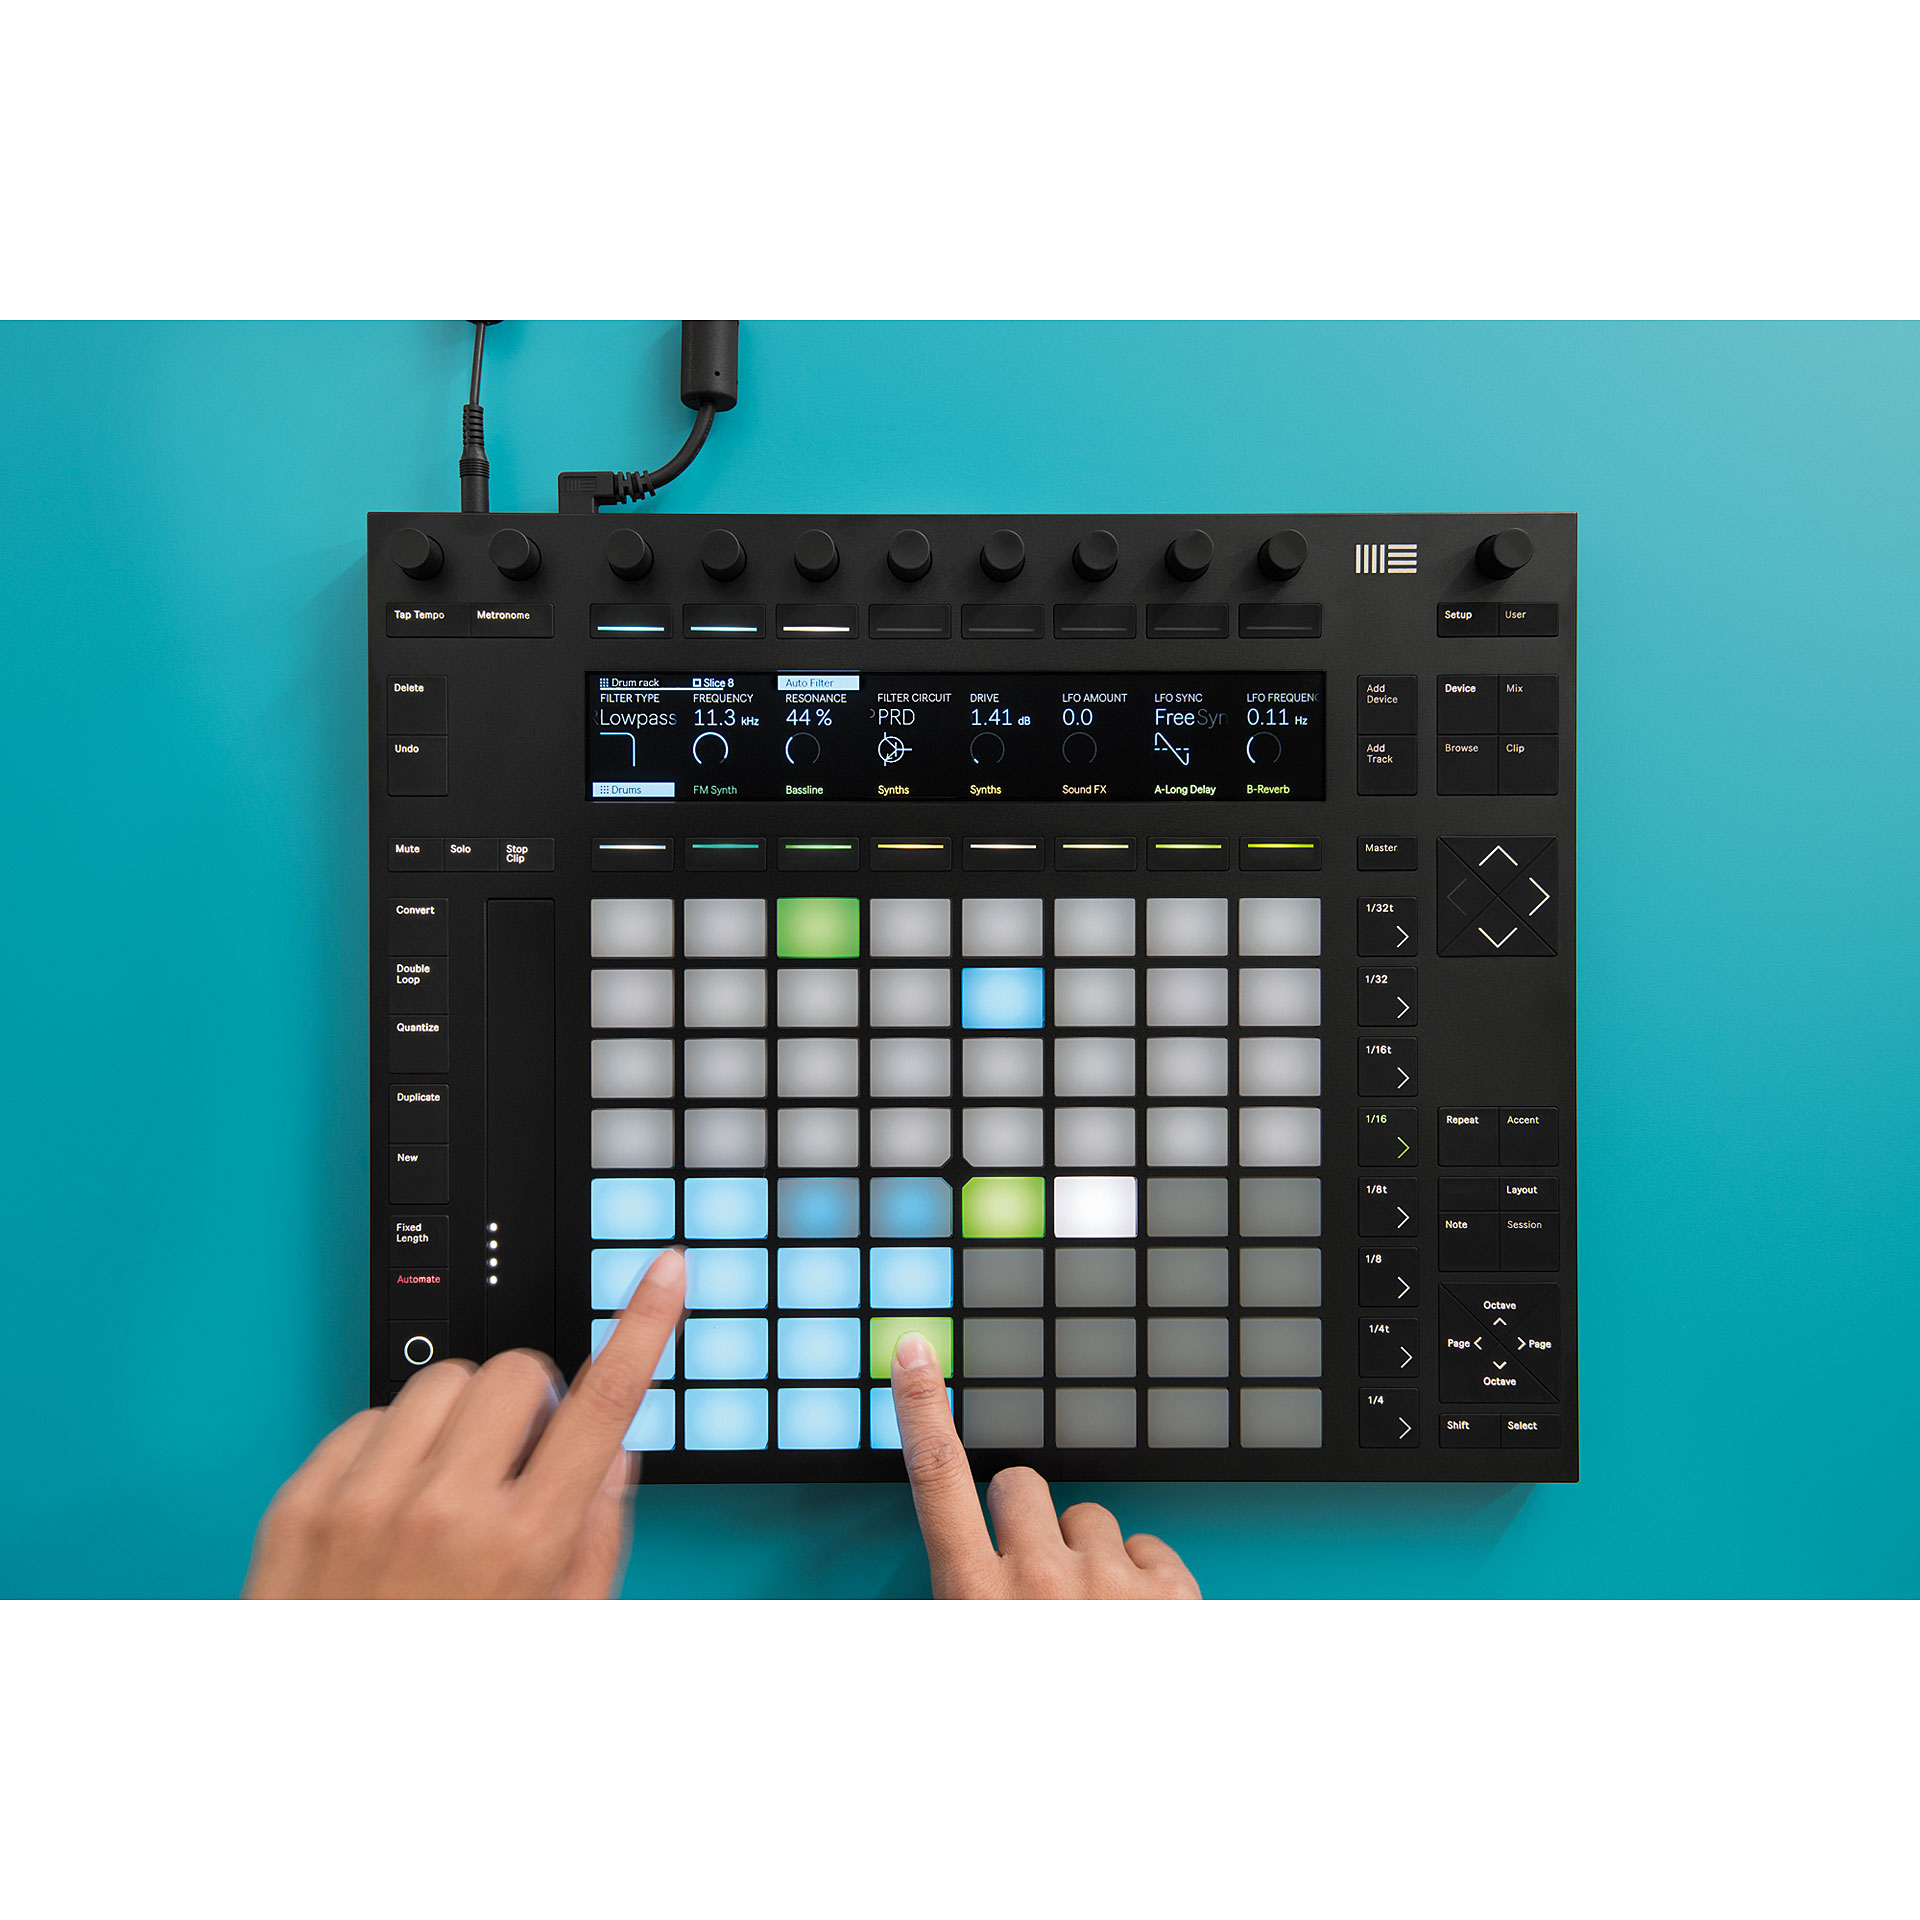
Yourstep-by-step guide to Ableton Push 2 performance and composing
Possibly one of the major advantages thatAbleton Push 2 composing offers is that it gives the user full control over the
sound, the structure, and the melody of a song. . .even during a live
performance. So whether you’re recording in a studio or performing in front of
an audience, here’s a step-by-step guide on how to get started.
- Set it up
The first thing thatyou need to do is to make sure that you can enjoy utmost flexibility down the
line. So hook your Push hardware up to a computer and configure your Live 10
interface before anything else.
- Load sounds from Push 2
This step can beeasily done directly from Push 2. All you have to do is to locate the “browse”
button to access tagged items much more efficiently. To find the right sound,
you can either browse per category or collection or simply scroll through your
options using the arrow keys. You can tap on the “preview” button to play the
kit sounds.
Once you have foundwhat you need, you can load your selected sound with a simple click of the
“load” button.
- Set up your tempo
At the top leftcorner of your device, locate the “metronome” button. Of course, don’t forget
to set up your tempo first. To do this, simply use the Tap Tempo feature by
tapping on it four times. Live 10 will automatically note your tapping timing
and use it as the basis for your tempo.
Choose your mode
By this step, you arenow ready to start creating beats with Push 2. With your device on Note Mode,
you can load a Drum Rack preset from your library.
If you’re workingwith a MIDI track (and you likely are), you need to choose from three different
modes for your configuration: with a Loop Selector layout, 16 Velocities
layout, or 64-Pad layout. These modes determine your controls as well as the
layout of your buttons.
Set up your timing
When it comes tocreating music, you of all people should know that timing is very important.
This is where the “quantize” button comes in handy. Even when you are
recording, you can input quantization values to your clips.
Delete parts andadjust the length of your loop records as you see fit.
Drop in the bass
Nowwe move on to an exciting step: dropping the bass part to your current
recording. At
the right of yourscreen, you can find the “add track” button. Tap this to initiate the bass
and choose a setting.Scroll through your options and hit the “load” button once you find
a bass that cancomplement your current project.
- Select a root note and set a scale type
Backto your device’s dashboard, you can see multiple colored panels or pads. Each
of
these represents aroot note of your selected scale. The default scale is C major, but you
can change it to anynote that you want by clicking on the “scale” button. Simply start by
choosing a root noteand then choosing a scale type from there.
- Start playing notes
To start playing, youcan begin by tapping on the colored pads, either horizontally or on a 3x3
pattern. You can now start incorporating the bass here, adjusting the length of
its loop as you see fit. The “play” button starts the recording and also
functions as the “stop” command.
Finish your new track
With your bass andyour drum cycles on loop, you can also start setting the length of these loops
to polish your music further. You can also make sure that everything is within
rhythm by tapping on the “quantize” button. This harmonizes the bass with your drums.
- Listen to your session
To review your work,simply tap on the “session” button. This will lead you to your clip launch
buttons where you can simply choose arrangements the next time that you need to
perform.
Skills Required
Research
writing
music
composing